


Christmas is right around the corner. And whether you’ve already decorated and you’d like a new signature piece or two, or you haven’t even started yet, now is the perfect time to get crafty. You can create your own do-it-yourself ornaments and decorations for Christmas, or enjoy craft time with the kids.
Here are a few simple DIY Christmas ornaments and decorations you can do even at the last minute. Please note that not all of these crafts are kid-friendly, but I tried to include tips to make some more-so.
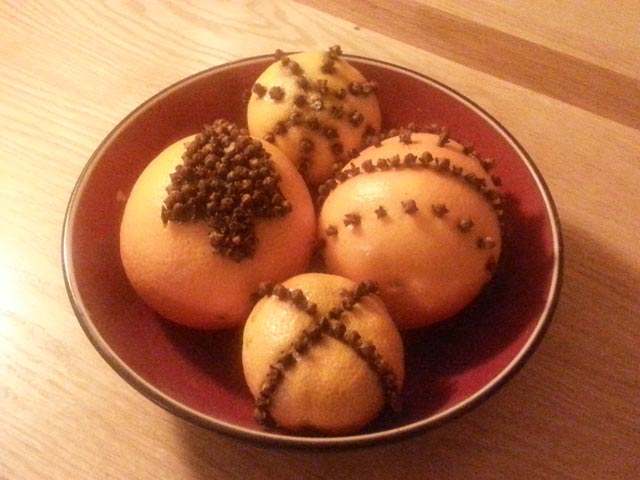
1. Pomanders
Pomanders were one of the first Christmas crafts I learned to make as a child. It’s a kid-friendly project, it’s easy, doesn’t need many items, and leaves your home smelling seasonally fresh.
What you need:
- Oranges (or similar fruits)
- Whole cloves
- Pencil or marker – optional
- Citrus zester – optional
Instructions:
- Choose a design (you can see some examples in my photo above).
- Draw your design on the fruit’s skin. This is optional, and you could also carve the design with a citrus zester, or use the zester to add embellishments around where you plan to put cloves.
- Poke whole cloves into the skin of the fruit (you can create starter holes with a pin if necessary; I did not).
- Display your pomanders in a bowl or tie a ribbon around them to hang them on your Christmas tree.
- Keep the pomanders in a cool dry place so they dehydrate. They’ll shrink significantly over time, but they provide a nice scent for a year or two.
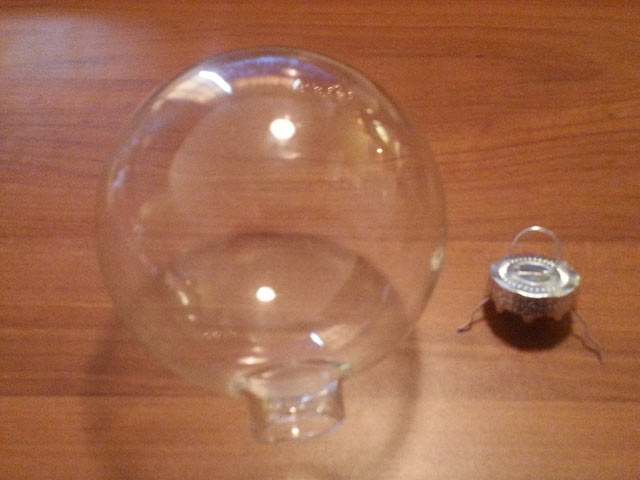
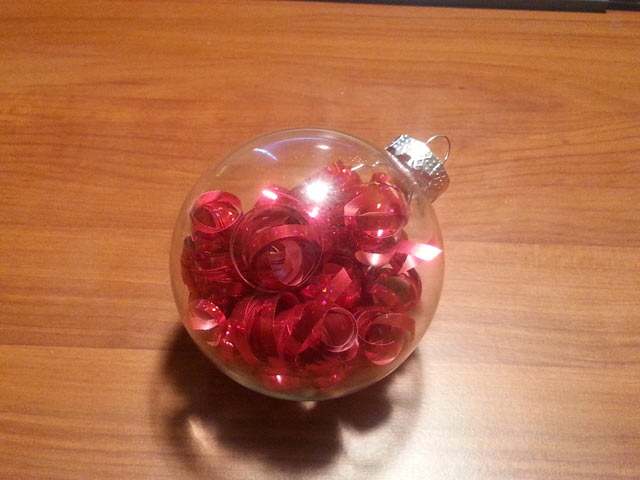
2. Glass Ball Ornaments
Plain clear glass Christmas ball ornaments are fantastic if you want a custom look for your Christmas tree this year. You can make them go with any decor, and you can customize them in several ways. Due to the inherent danger of working with glass, these aren’t the most kid-friendly projects. If you do decide to let a child help with these crafts, please supervise them carefully and handle the glass ornaments on their behalf.
What you need:
- Clear glass Christmas ball ornaments
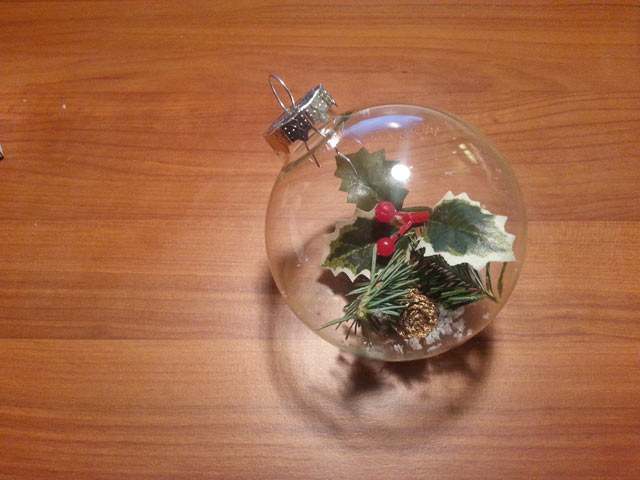
- Anything that fits inside the ornaments that suits your taste. Some ideas include:
- Curled ribbons
- Pretty holiday fabrics
- Glitter
- Small pine cones, pine branches, artificial berries, or other natural elements
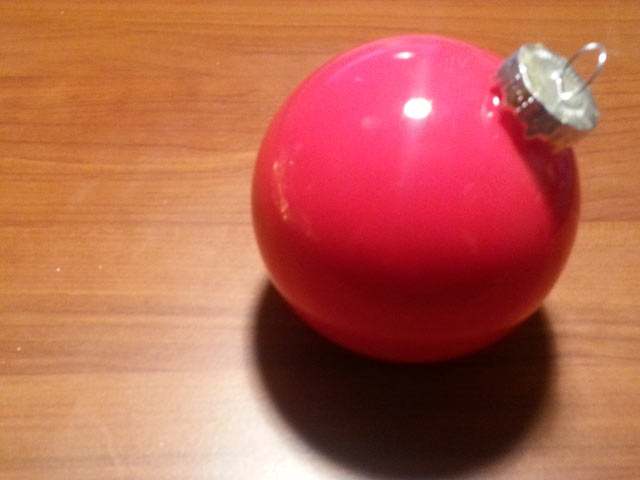
- Paint (If you can’t find ornaments in a color you like, you can make them yourself.)
Instructions:
- Gently pull out the top of the glass ornament (usually a silver cap with a loop for your ornament hook or ribbon).
- If you’re using paint, put a little bit into the ornament ball (on the inside) and swirl it around until it coats things as you want. You can coat the entire ball or do a swirl pattern, even mixing paints. If you mix colors, let the first color dry before swirling another.
- If you’re putting items inside the glass ball, place them in gently.
- Replace the ornament cap. Attach a ribbon or ornament hook, and hang it on your tree.
3. Styrofoam Ball Ornaments
If you’d like to make ball ornaments with a more kid-friendly material, consider picking up some styrofoam balls instead of glass ornaments.
What you need:
- Styrofoam balls (I used 3-inch ones.)
- Decorations to cover the styrofoam. Examples include:
- Holiday patterned socks, gloves, or sweaters (that you don’t mind cutting up).
- Sequins
- Yarn or twine
- Glitter
- Pins and / or glue (spray adhesive or a basic craft glue will work)
Instructions:
For a fabric-covered ornament:
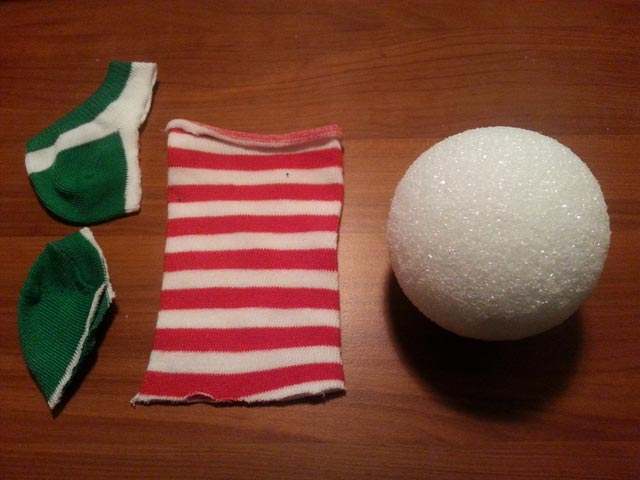
- Cut your sock, glove, or sweater arm into a tube of fabric.
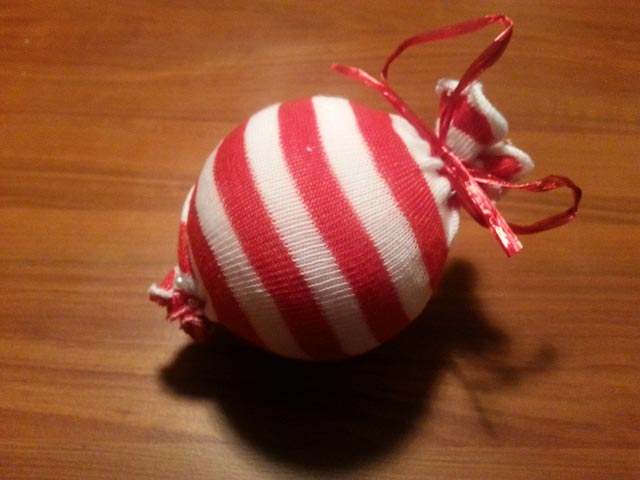
- Slide the styrofoam ball into the tube of fabric and make sure it’s evenly spaced between both ends.
- Use a ribbon or some pretty pins to cinch or seal the fabric ends.
- Add a hook or ribbon to hang it from the tree. These can be pushed through the fabric or pinned or glued onto the top of your ornament.
For a sequin-covered ornament:
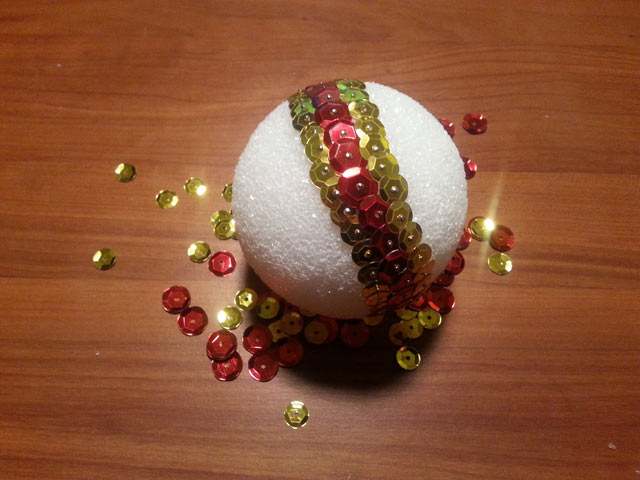
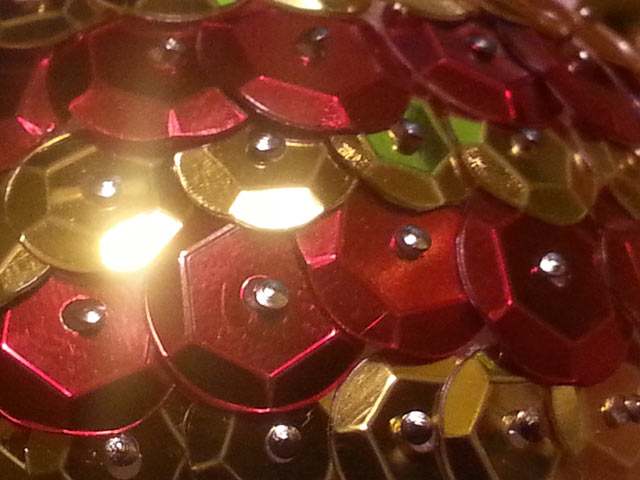
- Choose a design for your sequins. You might want to mark lines if necessary. I just freehanded it.
- Attach sequins one row at a time. I used basic silver pins for this. You can use fancier decorative pins, or glue if you want this to be a more kid-friendly project.
- Leave a small space at the top of your ornament so you can attach a ribbon or hook with glue or a pin, and then hang it from your tree.
For a glitter-covered ornament:
- Lay out a thick layer of glitter on a paper plate or in a shallow dish.
- Use spray adhesive or paint some thin craft glue lightly onto your styrofoam ball.
- Roll the ball with adhesive on it in the glitter, applying more adhesive as necessary. Depending on your adhesive, you might have better luck applying the glue and glitter to small sections at a time.
- Glue a ribbon loop with a bow to the top of your ornament before hanging it on your tree.
- Note: Similar to the glitter version, you can spray the styrofoam ball with adhesive and tightly wrap yarn or twine around it giving the appearance of a yarn ball ornament without wasting a lot of yarn — perfect for an old fashioned theme.
As an alternative to creating styrofoam ball ornaments, you could also use artificial boxwood and berries to create a kissing ball to hang from a doorway. Just poke the stems directly into the styrofoam until it’s completely filled.
Bonus Kid-Friendly Project
Another project I love (and which is currently drying to go on my tree) is to use children’s air-dry clay (Crayola makes some or you can make your own with corn starch, baking soda and water). I roll this out and use a cookie cutter to get the shapes I want.
Once dried, you can let kids paint these ornaments, or you can leave them white. Personally I leave them white, and I use them as scent-releasers on my artificial tree (I have one real and one artificial this year). I got this idea after buying similar ornaments from my favorite candle manufacturer a few years ago.
To do this, just dab some fir tree fragrance oil on the ornament. It will absorb it and make your artificial tree smell as good as the real thing. I refresh the oil every few days. It only takes a few drops.
Do you have a favorite DIY Christmas ornament, decoration, or craft that you’d like to share? Tell us about them in the comments.