

You’ve heard it a gazillion times: “Use webinars to grow your business.”
That’s sound advice, of course. Considering how over 60% of b2b marketers take the time to use webinars as part of their content marketing arsenal (source), it gives us a clear idea of how reliable of a marketing strategy webinars are.
At this point, however, I’m guessing that you already know all that. Because you clicked the title to read this article, you’ve probably already decided to use webinars, but you aren’t quite sure which platform to use: ClickMeeting or GoToWebinar?
Well, I’m glad that you’re here.
We’re going to unpack both webinar software programs, so you’ll know which software works better, or which one is a perfect fit for the dynamics of the webinar that you’re hoping to run.
Let’s check out the nitty gritty of both platforms now.
Clickmeeting.com
If I were to pick three characteristics to describe ClickMeeting, these characteristics would be:
- Robust features
- Insanely user-friendly
- Affordable
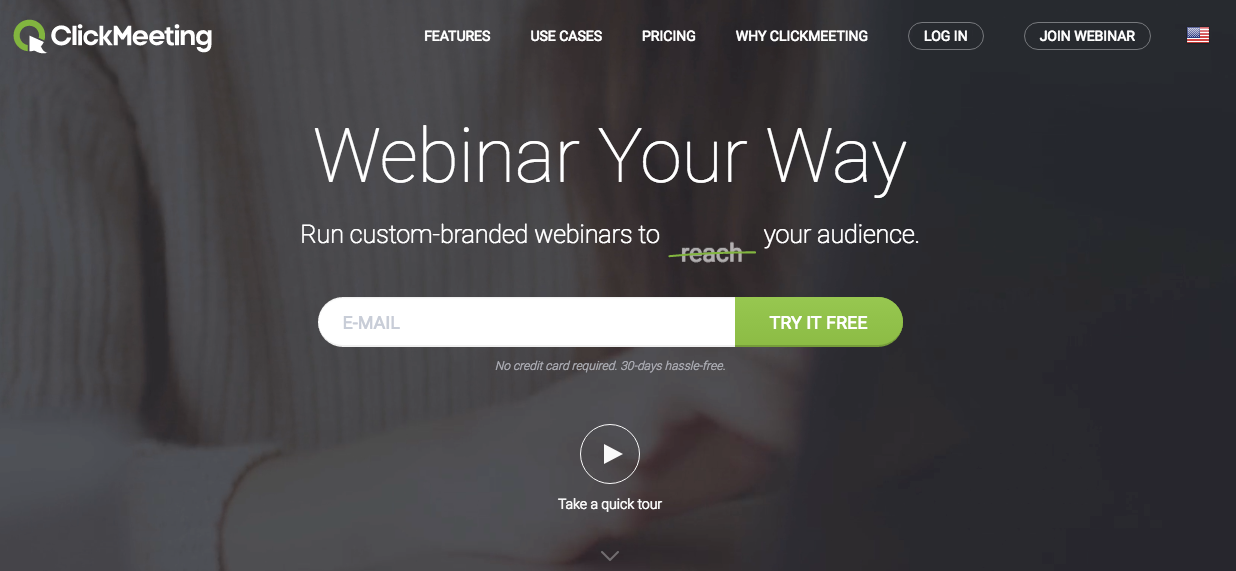
There are a lot of good things to be said about ClickMeeting. For one thing, the platform doesn’t require its users to install anything since it is browser-based. The platform also has several rebranding features, and they are one of the most affordable in the market.
Getting started
Here’s how the page would look like after you register and click the activation button sent to your email.
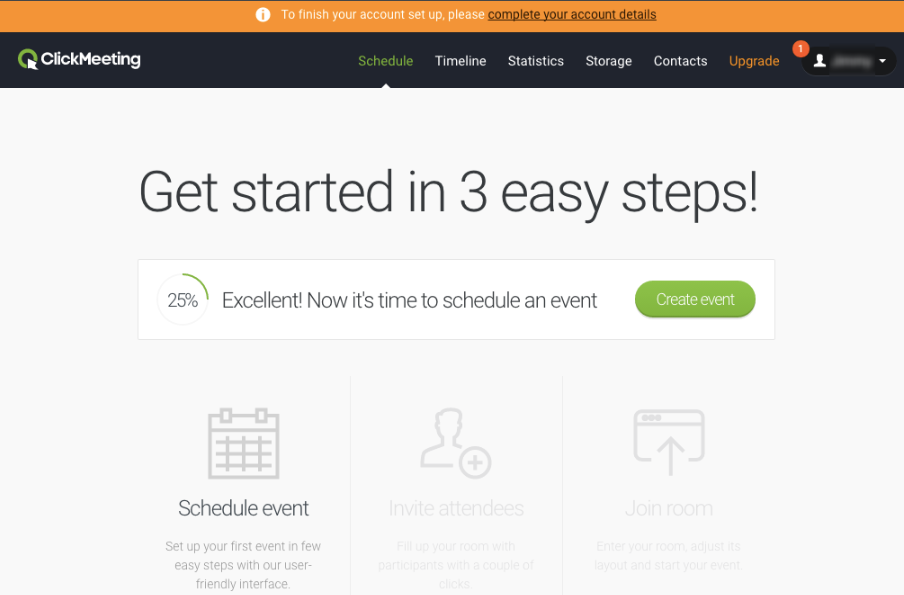
After clicking the green, “Create event” button, you’ll then be taken to a page where you can enter the details of your webinar like your event name, your room type, time zone, appearance, waiting room, registration, etc.
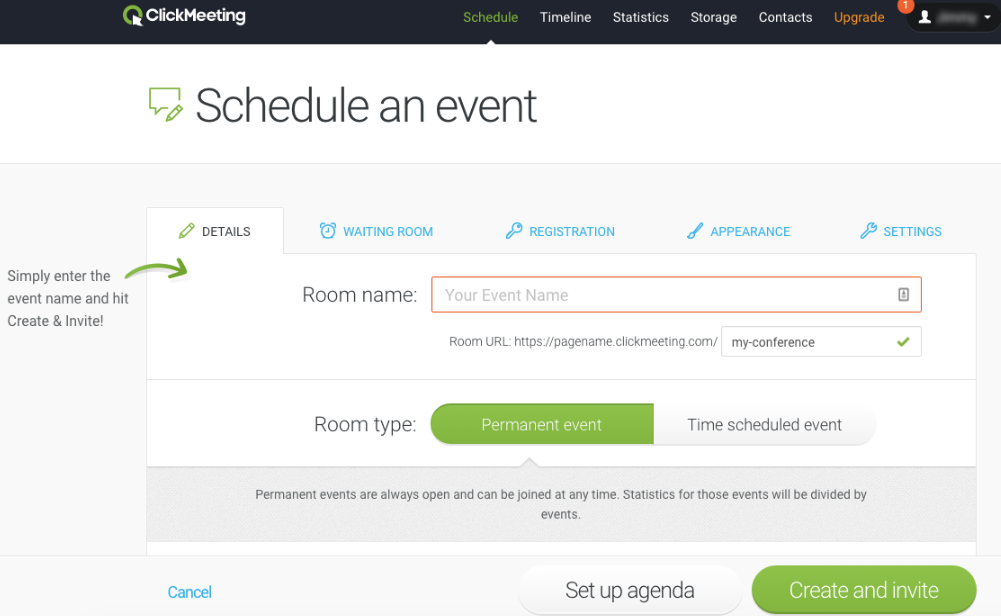
As you can see, the platform’s interface looks very user-friendly. So much so that you’ll never get lost when using the platform since it’s pretty easy to figure out what each function is for.
Setting up your “Waiting Room.”
To make sure that your attendees won’t get bored while waiting for your webinar to start, you can setup your waiting room.
You can add details about your event’s agenda so they’ll have an idea about the kind of content your webinar has, you can even leave messages, customize the presenter’s profile, and add attachments that they can download.
Here’s how it would look like when you’re editing your “Waiting Room.”
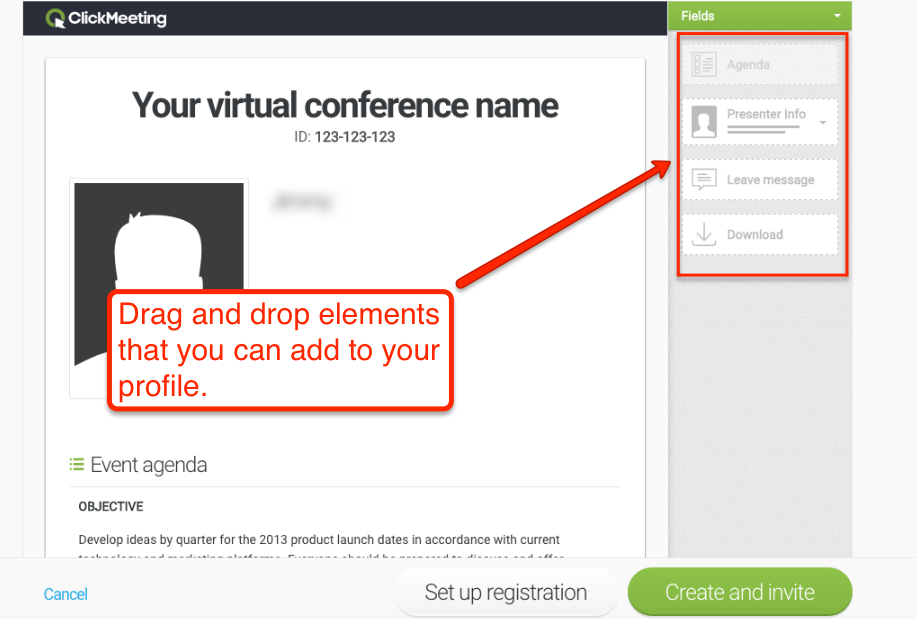
(The “Waiting Room” tab.)
Setting up your Registration page
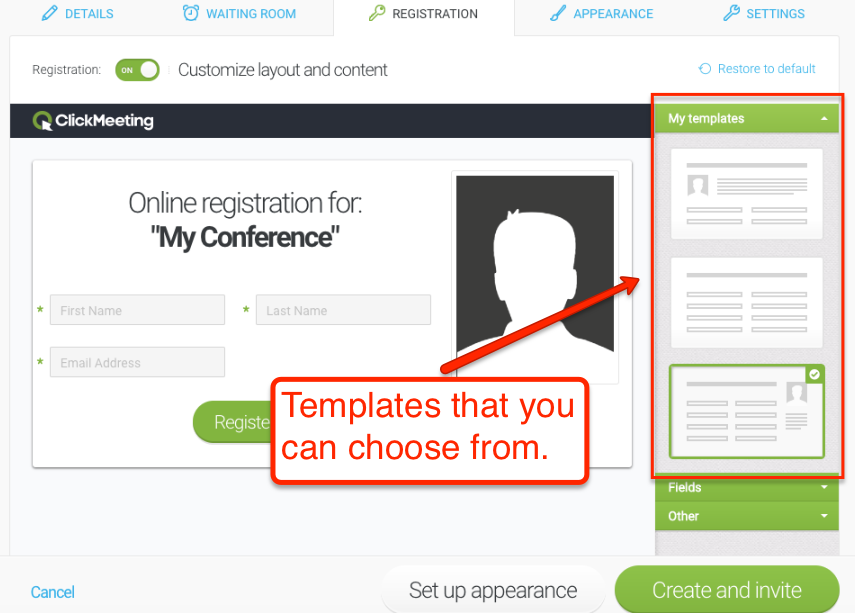
(The Registration tab.)
The Registration page is where you route your prospects so they can sign up for your webinar.
As you can see from the screenshot, setting up your registration page is going to be a painless experience because ClickMeeting already has professional-looking templates that you can choose from.
Once you’ve selected a template, you can then customize it by adding several elements or fields on your Registration page.
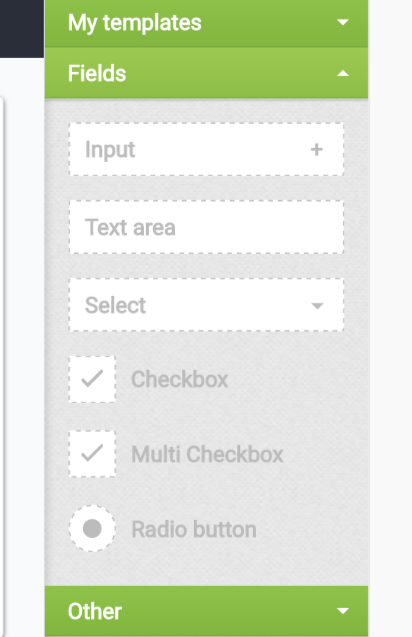
It’s so easy to add the fields in the platforms web editor since you have only to drag and drop them in the fields where you want them to be added.
In case you missed it, having the ability to add elements to your registration page is quite important. This enables you to have a better understanding of what your audiences’ problems are, get suggestions from them, and garner more information to have a better understanding about them.
Here’s an example: Their default Registration page only has the fields, “First Name,” “Last Name,” and “Email Address.”
Of course, these details are important to obtain, however, depending on what you’re trying to accomplish with running a webinar, they can also be quite lacking.
Instead of only having the three default fields, you can add more like:
- What are your main struggles with internet marketing?
(Supposing your webinar is about internet marketing.)
You can then add radio buttons with choices.
- How many are you in your company?
Knowing this information is important because you would know how to position your presentation.
I mean, if you are blindly positioning your presentation as if you’re targeting small business owners when your attendees are huge companies, there’s going to ba big disconnect between your presentation and your audience making your presentation less effective.
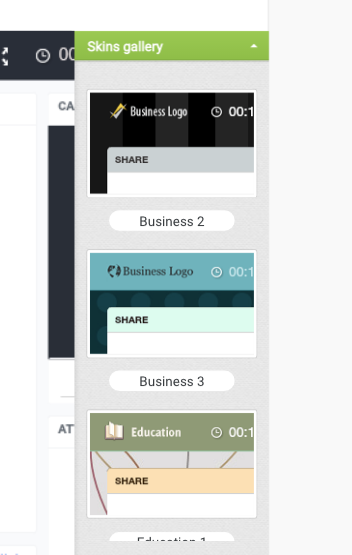
Customizing your webinar’s appearance.
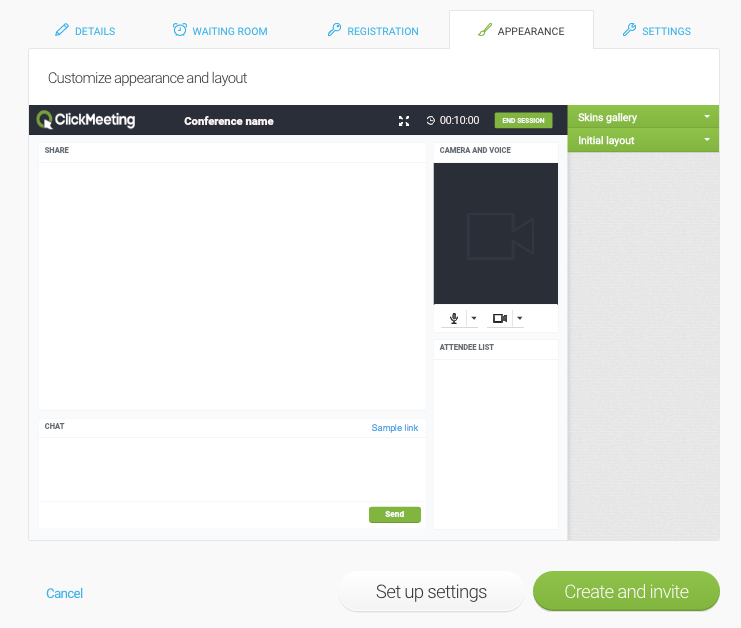
You can select from several color themes that the platform has within it’s “Skin Gallery” tab.
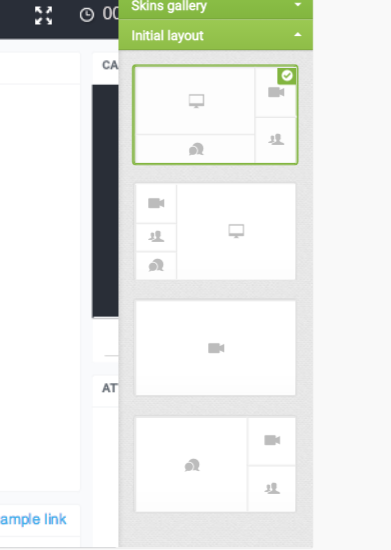
You can also customize your webinar’s layouts depending on the dynamics of your event. ClickMeeting has premade layouts you can choose from.
The “Settings” tab
There are also several crucial features that you can use in the platform’s “Setting” tab.
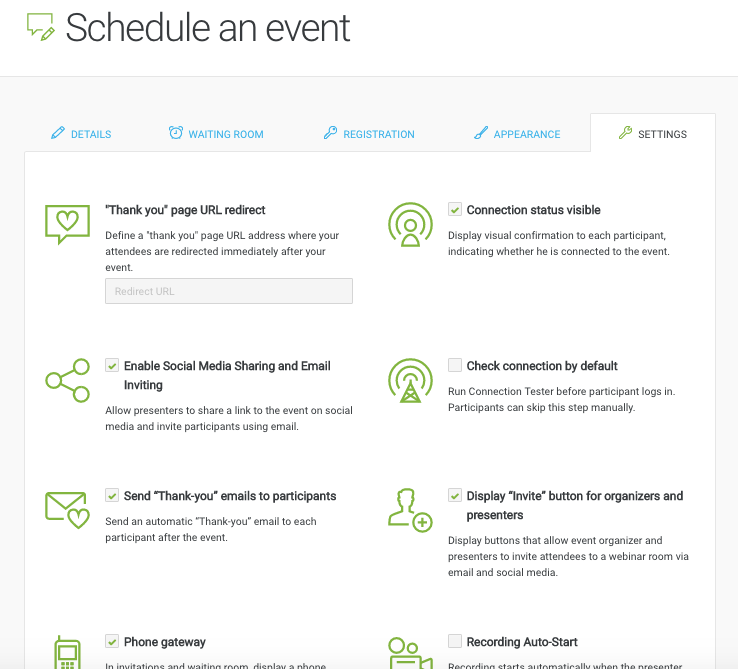
The features you can use in their Settings tab are advanced and you can only use them when you have an upgraded account.
Pricing
The cool thing about ClickMeeting is it won’t cost you an arm and a leg to access some of their advanced features since you can upgrade your membership for as low as $25 per month (billed annually).
Here’s how their pricing package looks.
- MyWebinars: $25 (25 – 100 attendees)
- MyWebinars Pro: $35 (50 – 500 attendees)
- Enterprise: $165 (500 – 5000 attendees)
For a more in-depth guide to their pricing, you can visit their pricing page.
GoToWebinar

While there are things about GoToWebinar that some of its users find a bit of a hassle, overall, the software is without a doubt still one of the best webinar software programs in the industry.
Let’s dig in and see how the platform looks from the inside.
Getting started
When you’re done signing up, you will be taken to their dashboard. This is how their dashboard looks.
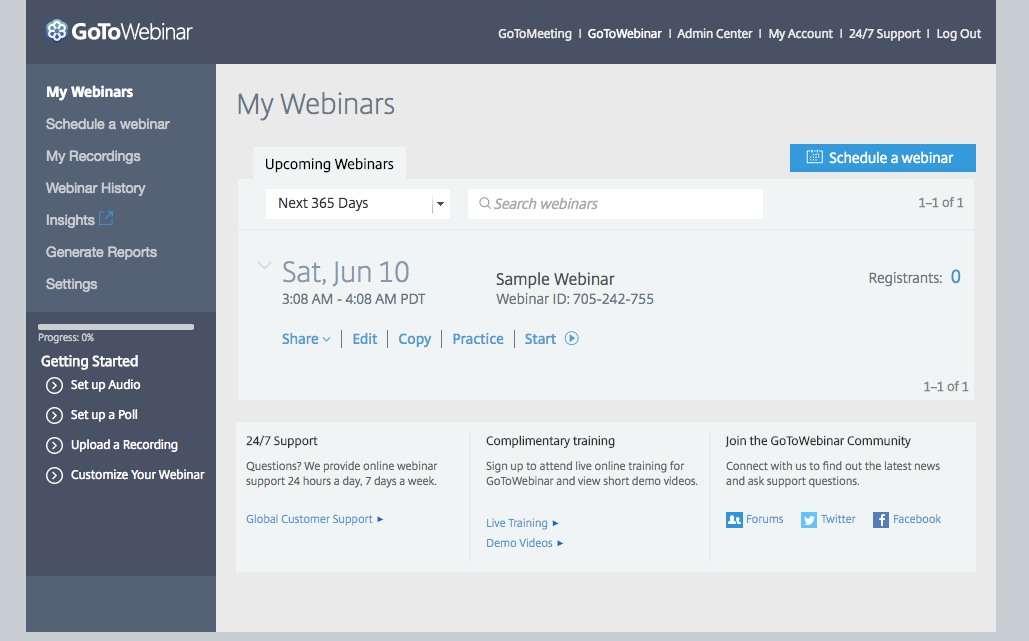
While the dashboard seems pretty intuitive for those experienced in using webinar software programs, someone that’s a total newbie might find it a bit challenging to use the tool. The thing is, their dashboard looks a bit overwhelming because of all the links in it. However, if the users will spend a couple of minutes to check out the platform, they’ll surely be able to figure out how it works.
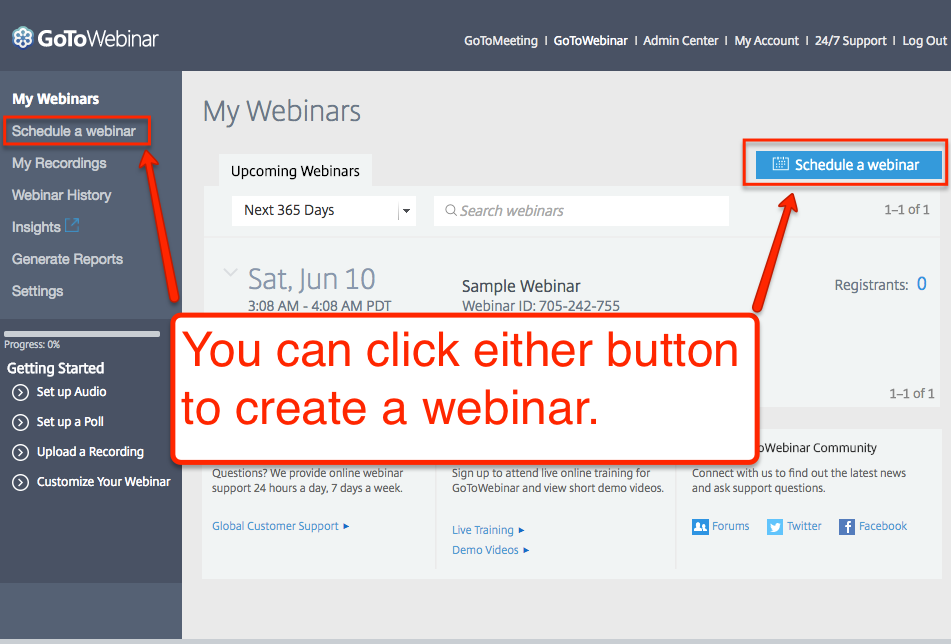
Creating your webinar
There are two buttons you can click to start creating your webinars.
This is how their “Schedule a webinar” page looks.
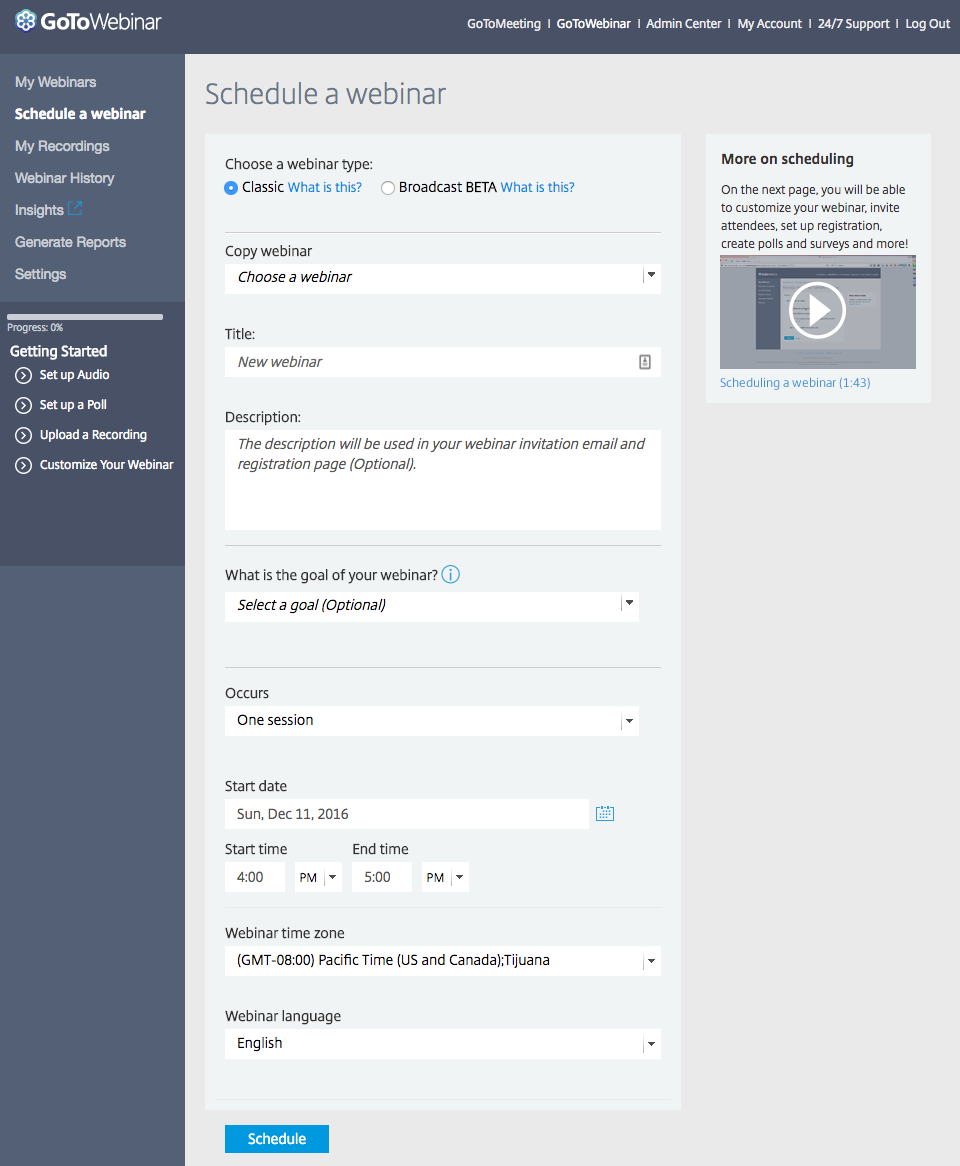
Because the page is only asking you for the crucial details to start your webinar (which is always a good thing), it’s only going to take you seconds to schedule your webinar. After you’ve entered the details required on the page, you can then click the blue “Schedule” button at the bottom to start your webinar (or wait for the time you scheduled your webinar to start).
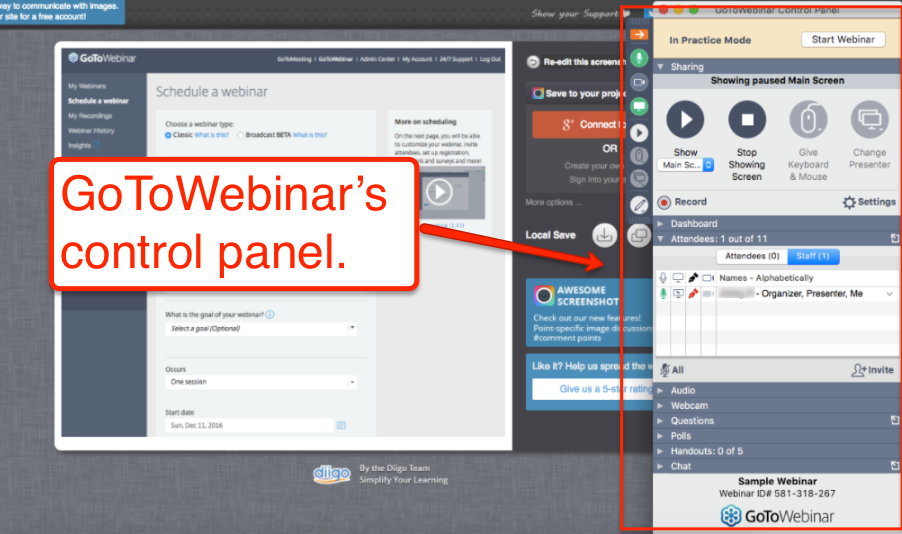
GoToWebinar in action.
When your webinar starts, you’ll see GoToWebinar’s control panel on your screen. Though the control panel has an old and clunky feel to its design, there are still a lot of good things to be said about it.
For one thing, despite the control panel having several buttons to it, it’s pretty easy to understand what each buttons are for.
This is how GTW’s control panel looks.
Sharing your screen.
There are the three options you can choose from when sharing your screens:
- Your main screen (everything you see on your monitor).
- Everything you see in your browser only.
- Everything you see in your Skype window only.

If you’ve been using webinars for quite some time now, you’ll appreciate the importance of this feature.
In situations where you need to share your screens, there are times when you want your attendees to see only what’s in your browser. This is especially true if you’re chatting with another client on Skype, or if you are working on a different task and you have other software programs opened on your computer.
GoToWebinar makes it simple for its users to add limitations in their screen sharing options.
Pricing
These are GoToWebinar’s pricing packages:
- Starter: $89/month (100 participants)
- Pro: $199/month (500 participants)
- Plus: $429/month (2000 participants)
- Enterprise: You have to contact them (5000 participants)
You can visit their pricing page for more information.
Verdict
While GoToWebinar is certainly no slacker, overall, I think ClickMeeting is a better webinar software to choose. The level of webinar customization that ClickMeeting gives to their users far exceeds GoToWebinar’s.
ClickMeeting also has full rebranding features, they are more affordable, their webinars are easier to set up with all the layout templates and themes available, plus… you don’t need to install any kind of software when using ClickMeeting since they are browser-based.
If there are ideas, questions, or suggestions that you’d like to add in the post, please add them in the comments section below. Cheers!