


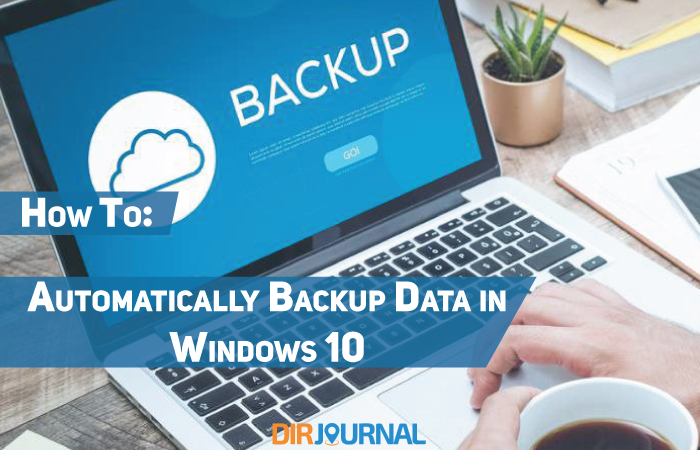
If you haven’t backed up your system files, now’s probably the right time to consider it. Your files can be accidentally deleted or infected with malware which could lead to loss of critical data. Would you really want that to happen?
If you aren’t using any backup system, it’s wise to setup an auto-backup mechanism to run on a regular schedule. The process is pretty simple for Windows 10 users.
The primary backup feature in Windows 10 is called File History; it automatically saves multiple copies of a file so you can go in the past and restore a file before it was amended or deleted. This is especially useful for files which change frequently such as MS Word or MS PowerPoint files.
Previous versions of Windows had a tool called Backup and Restore which creates a single backup of the latest version of your files on a schedule. It also grabbed a ‘system image’ i.e. a snapshot of your whole operating system, making it thoroughly easy to restore everything incase something bad happens.
Backup and Restore is still available in Windows 10 though it’s more of a legacy function now. You can use either of these features to backup your system.
You will still need offsite backup via online backup or a remote backup to another computer, but file recovery from a local backup will be quicker; with system image, you can restore your entire system almost immediately exactly as it was before the crash.
Follow these steps to get started; before you do, make sure you have an external hard disk, a Network Attached Storage or any other PC on your local network to serve as a backup location.
Enabling File History backup
- Go to Start > Settings > Update & Security.
- Select Backup and choose Add a drive.
- Select the drive/network location you want to use as backup location then click More options.
- Follow your desired settings accordingly then choose the Back up now button to start File History backup.
You have multiple options to specify the duration of your File History backups:
- The default is Forever so that File History can create/save backups regularly until your drive is full.
- Switching to Until space is needed will auto-remove older backup files when space on your backup drive is low.
- Switching to 1 month or 2 years will delete older versions when files reach that time setting.
Going forward, for any of the options chosen above, File History will work quietly in the background.
Restoring from File History backups
- Type ‘restore files‘ into the taskbar and click Restore your files with File History.
- Select Restore to save in its original location. Right-clicking on this option will allow you to select a different storage location.
- To restore previous versions of a file without opening the File History restore tool, right-click on the file, choose Properties and access the Previous Versions tab.
Using Backup and Restore to complete system images
You might have File History turned on but it’s still advisable to use Backup and Restore to periodically generate a fresh system image on a different drive. You could use this to upgrade to a new drive without reinstalling everything at the risk of losing your settings.
Remember to use a different drive for File History from the one you may already be using. When it comes to backups, redundancy is king.
- Open Backup and Restore.
- Choose Set up backup to select your drive or click on the Save on a network button.
- Choose whether you want Windows to select the folders or you’d like to do that yourself. In case of the former, Windows will save the files on your desktop, user folder, libraries and also create a system image.
- If you opt for manual selection, deselect Libraries.
- Click the Save settings and run backup button to execute your first backup.
Restoring a system image
- Go to Settings > Update & Security > Recovery and restart your PC in the advanced startup mode. Then select the image from which you wish to restore.
- If you just want to restore certain files/folders, go to Control Panel > Backup and Restore (Windows 7) screen and select the Restore my files button.
- If you can’t access the Control Panel or Settings, start your PC using a Windows installation disc, USB, system repair disc or a bootable USB recovery drive.
The File History and Backup and Restore options might not be the most robut methods available but they’re simple to use and free. You can always supplement them with online backup services.